Finishing or updating your basement? Choosing the right flooring is about more than just looks.
After living with a basement floor I didn’t like for many years, I learned a few lessons the hard way. I’m sharing them here to help you save time, money, and a few headaches.
When Joe first finished our basement, he did an amazing job creating functional spaces for our family. Like many DIYers, he decided to tackle the floors himself, using epoxy paint with flakes and area rugs for comfort. At first, it looked okay, but there was still a large crack in the floor, and he left a big footprint that couldn’t be ignored. On top of that, it didn’t hold up. Within a short time, it started bubbling and chipping, and cleaning with the flakes was always difficult.
I finally couldn’t take the floor anymore and said something had to be done. He planned to repaint it, but this time with better prep. He spent days here and there on his hands and knees, scraping and sanding the basement with a mini sander and scraper. I didn’t have much sympathy because I kept telling him to either rent the proper equipment or hire someone. Here are the steps that were followed:
1. Address Moisture, Even Minor Issues
Over the past 18 years, there have been a few times when a small puddle has appeared near the kids’ cubbies in our mudroom and in the utility/storage room. Even though it happened only a few times and was minimal, it made me think twice about using luxury vinyl flooring. Joe was leaning toward luxury vinyl, but I just didn’t like the idea because of those few instances of water.
If you really want luxury vinyl, there are moisture barrier systems, such as waterproof underlayment or vapor barrier membranes, that can be installed between the concrete and the flooring to help protect against small amounts of moisture. After researching it (because that would have been the easiest fix), I decided I still preferred a more water-resistant option for our space.
2. Consider How You Will Use the Space
Our basement has a mudroom, a hangout room, and a utility/storage area.
3. Choose a Continuous Flooring
Using the same flooring throughout:
✔️ Looks seamless and cohesive
✔️ Feels more open and expansive
✔️ Makes the space brighter and more orderly
Luxury vinyl flooring was an option for the kids' hangout room because there has never been water there, but consistent flooring throughout the basement was more important to me.
4. Evaluate DIY Options Realistically (Learn from Joe)
After watching Joe work for days with tools the size of a coffee mug, I texted him a few companies to call. We ended up hiring Boston Garage for the job. When the professionals showed up with massive industrial equipment, I couldn’t stop laughing. It made his setup look like a toy set.
They checked for moisture and suggested a vapor barrier just near the kids’ cubbies and by the furnace, but we decided to add it throughout the basement and garage.
What Is a Vapor Barrier (and Why It Matters)?
A vapor barrier is a moisture-blocking layer that’s applied to the concrete before the epoxy coating goes down. Its job is to prevent moisture from traveling up through the slab and getting trapped under the finished floor.
Even in “dry” basements, small amounts of moisture can rise through concrete over time. Without a vapor barrier, that moisture can eventually cause bubbling, peeling, or discoloration.
Installing a vapor barrier adds an extra layer of protection and helps ensure the flooring lasts longer.
For us, it was worth the added cost for the peace of mind alone.
5. Project Details
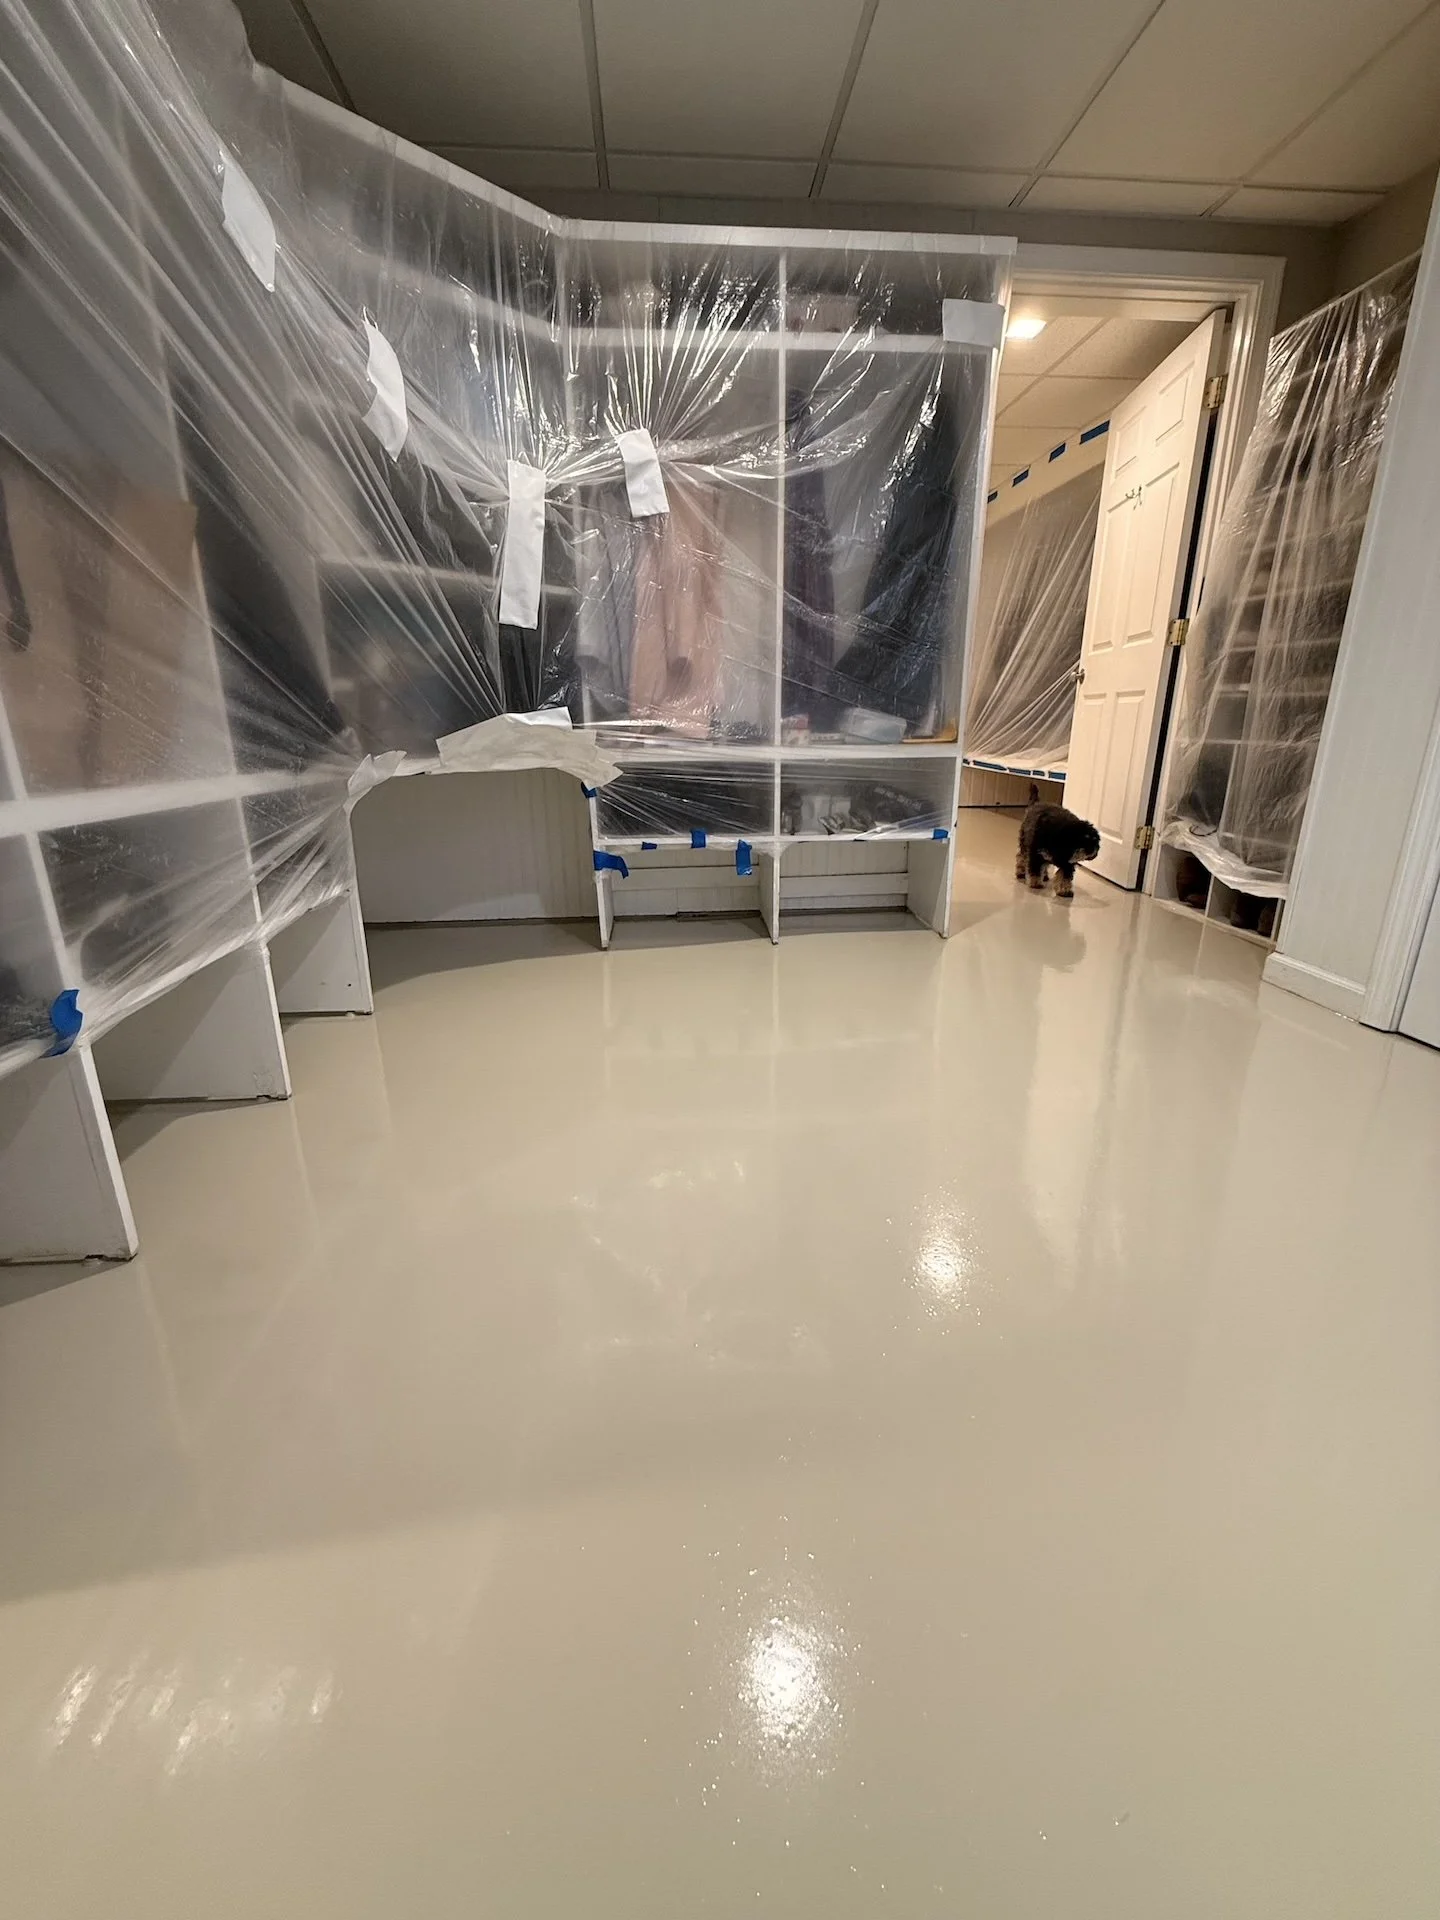
Before the work started, we cleared everything off the floor. We also taped off areas to keep dust out, even though the equipment had a dust-capturing device.
The whole project took a week:
Four days of work (Monday–Thursday, two hours each morning)
Walkable after 48 hours
One more day before moving heavy items back
There was a lot of grinding and sanding, which made a strong smell. Our air purifier was going crazy for days. Opening the windows to air out the space helped, yes, our windows were cracked open during these freezing days.
The Result
I really wanted polished concrete floors, but they talked me out of it because it isn't as durable. We chose a grind-and-seal epoxy floor without flakes for the basement because it is easier to clean. In the garage, we added flakes and a full vapor barrier everywhere.
The result is:
✔️ Seamless
✔️ Easy to clean
✔️ Durable
✔️ Moisture-resistant
✔️ Low maintenance
One Last Tip: Whenever you complete a home project, add it to your house file. If you ever decide to sell, records of upgrades, like the full vapor barrier we added, help show buyers the care you’ve put into your home. It’s a detail they’d never see if they were not told it is there, but it adds real value.